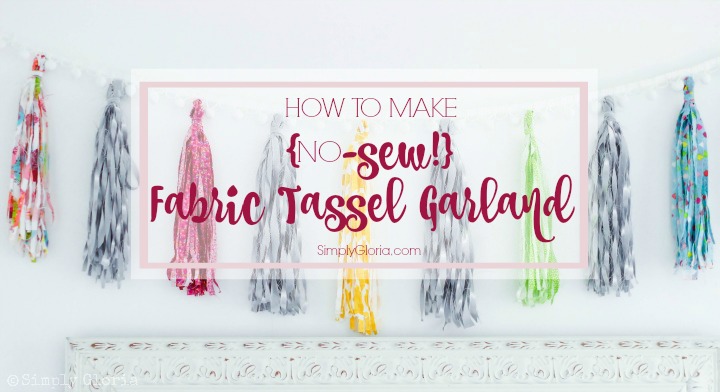
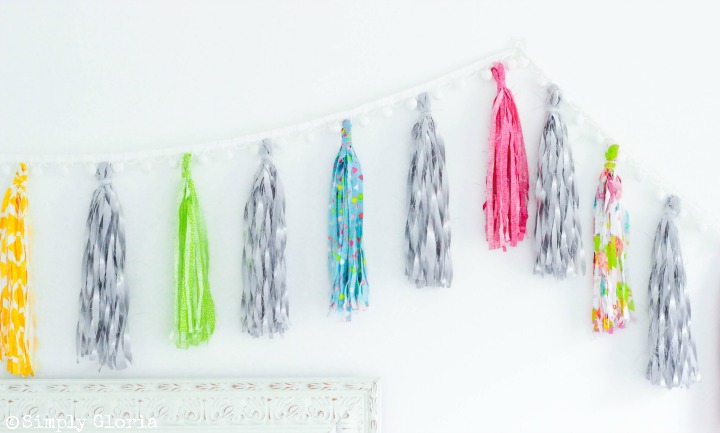
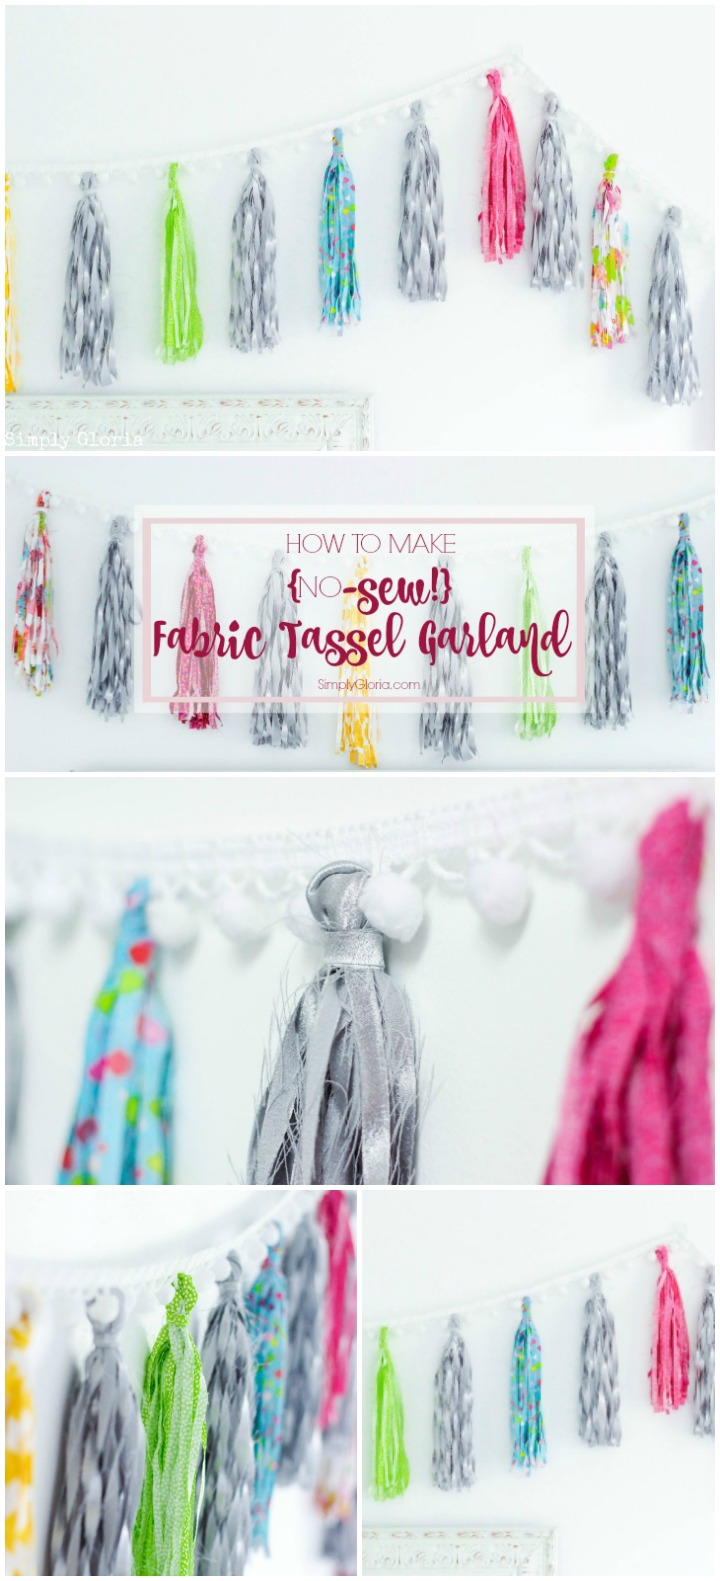
Make a fun, whimsical No-Sew Fabric Tassel Garland with an array of your favorite fabric!
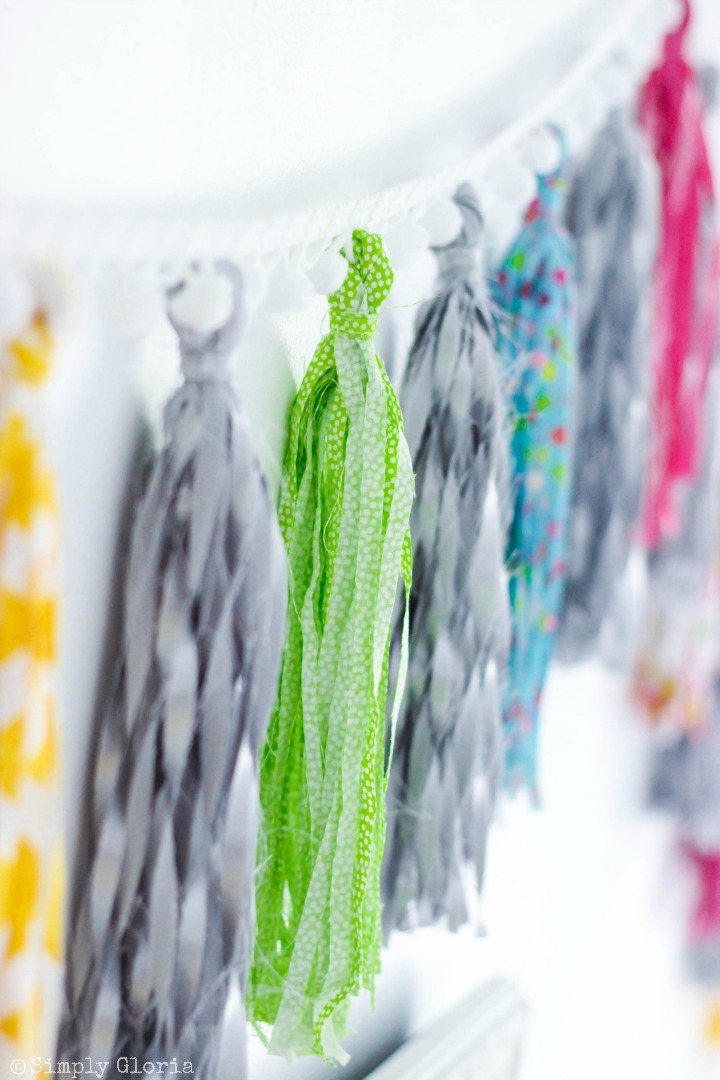
A DIY fabric project that is in no need of a sewing machine, you ask?? Why, yes!
I’m going to give you the simple steps on how to make your very own fabric tassel garland. You can make this with how ever many different colors and patterns of fabric. Spread it across as wide as you want, too!
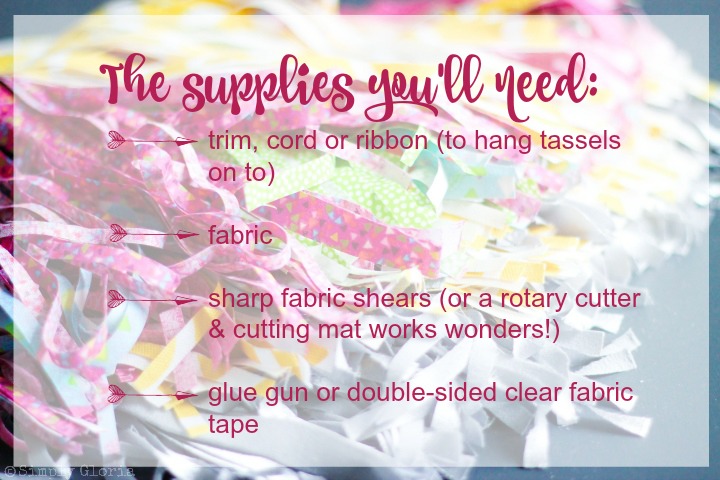 Imagine how your creation will look strung up in your most favorite happy place!
Begin with choosing a fun trim, cord or ribbon to hang the fabric tassels from.
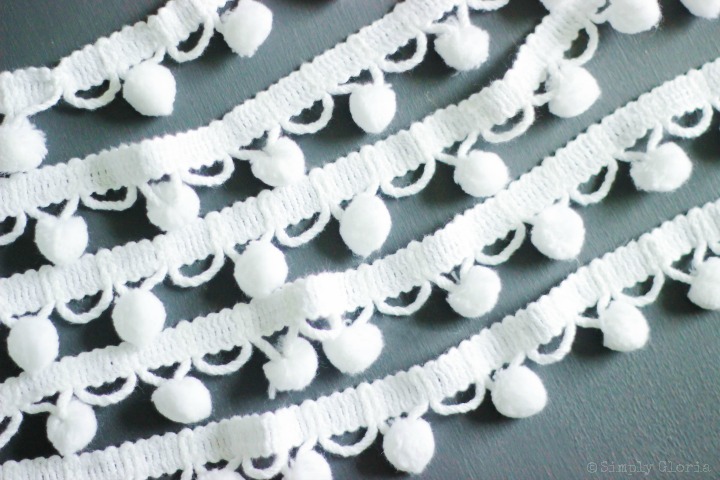 A ball fringe trim is really fun. And a ball fringe with loops in between the pom poms are perfect for holding the fabric tassels!
Measure the trim as wide as you want to hang your garland and get that much. I hardly ever measure, I use the eye ball method. I completely fell in love with this trim and purchased what was left on the bolt… 8 feet later. 😉
Next, you want to figure out how far apart you want the tassels to hang from each other. Then count how many tassels of fabric you need to make.
I counted every 3rd loop that was (without a pom pom) on my ball fringe trim…. which is 4 1/2 inches of space in between for each tassel.
Now on to the next exhilarating part– picking out fabric!
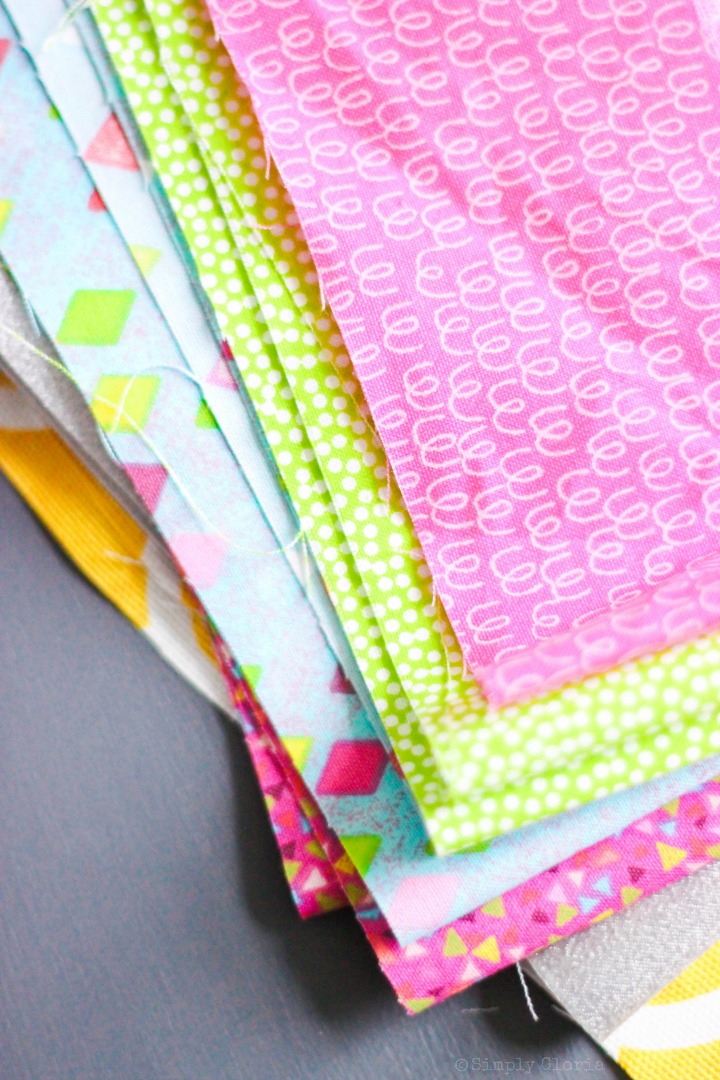
Be creative and take advantage of all the colors and patterns you see that can mesh together for your garland.
If you want to go with one color of fabric, choose a few different patterns and textures of that same color.
If you haven’t been hanging around in the fabric store lately, or have never ventured over there, you can make this!
The average length of fabric on the bolt is about 22 inches, folded (44 inches, unfolded). So, when the sweet ladies (or dudes) unroll the fabric from the bolt to cut it for you, it is usually already folded in half. You will get TWO tassels every 5 inches across the fold. (A visual and text explanation below.)
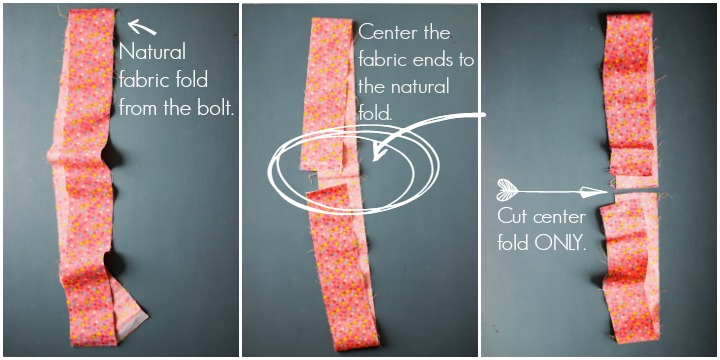
Lay the fabric across a hard flat surface (still in the natural fold) and measure every 5 inches across the fold, lengthwise.
Cut the folded 22 inch length fabric into 5 inch strips wide. Remember, this will give you TWO tassels for each strip.
Unfold the strip of fabric and bring both ends to the center. Now you have a fold on each end.
ONLY cut the center where the natural fold used to be. You now have two 22 inch strips. (If I still have you hanging on, that’s an 11 inch strip when it’s folded in half.)
Yay! Now we get to make the tassels tassel-y!
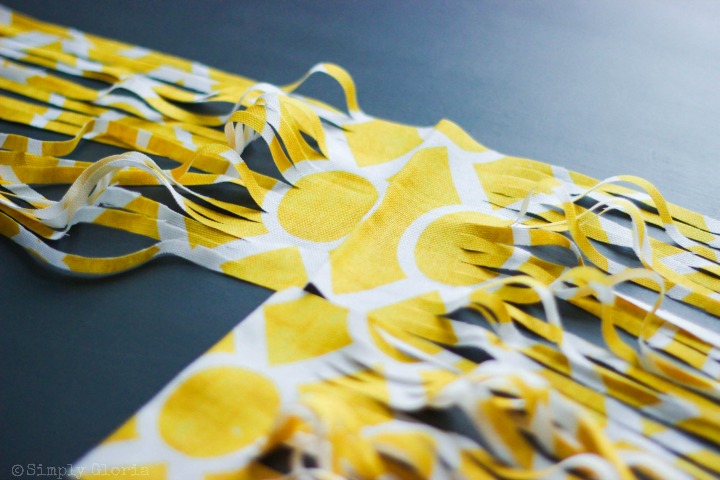
Fold each of the (5 inch wide) strips in half and make a mark down from the top fold down 1 1/2 inches.
Cut from the bottom edges all the way to the 1 1/5 inch mark near the folded to. Cut 1/4 inch strips all the way across.
Ta-da!
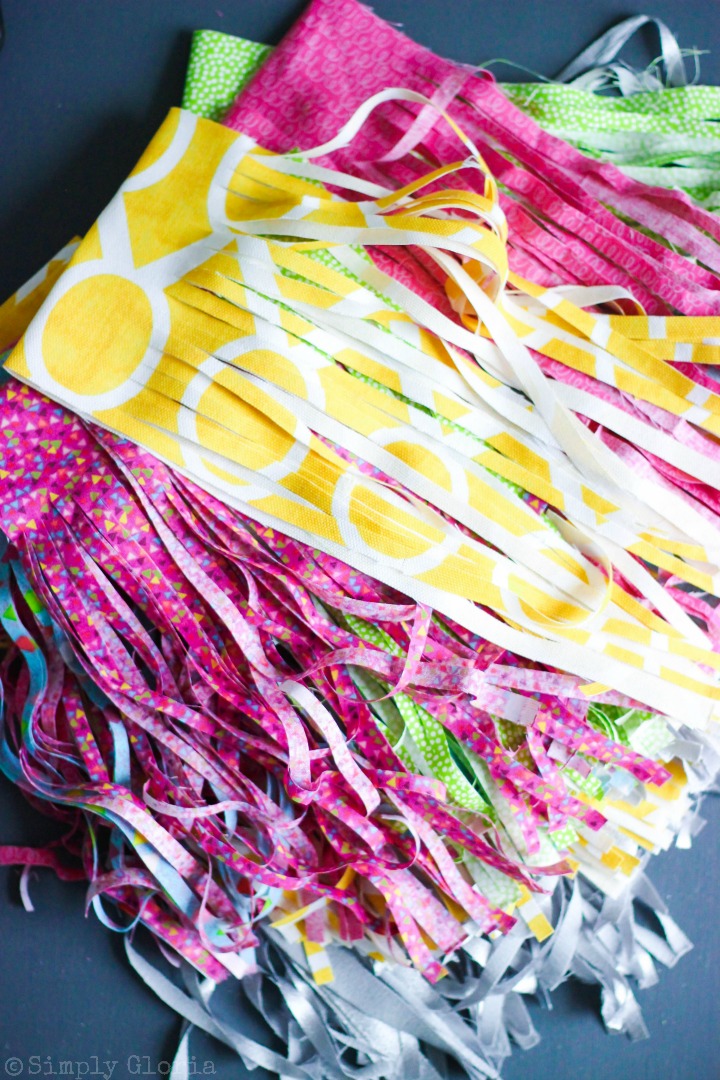
Now you’ve got a lofty pile of fabric flowing tassels ready to arrange onto your trim!
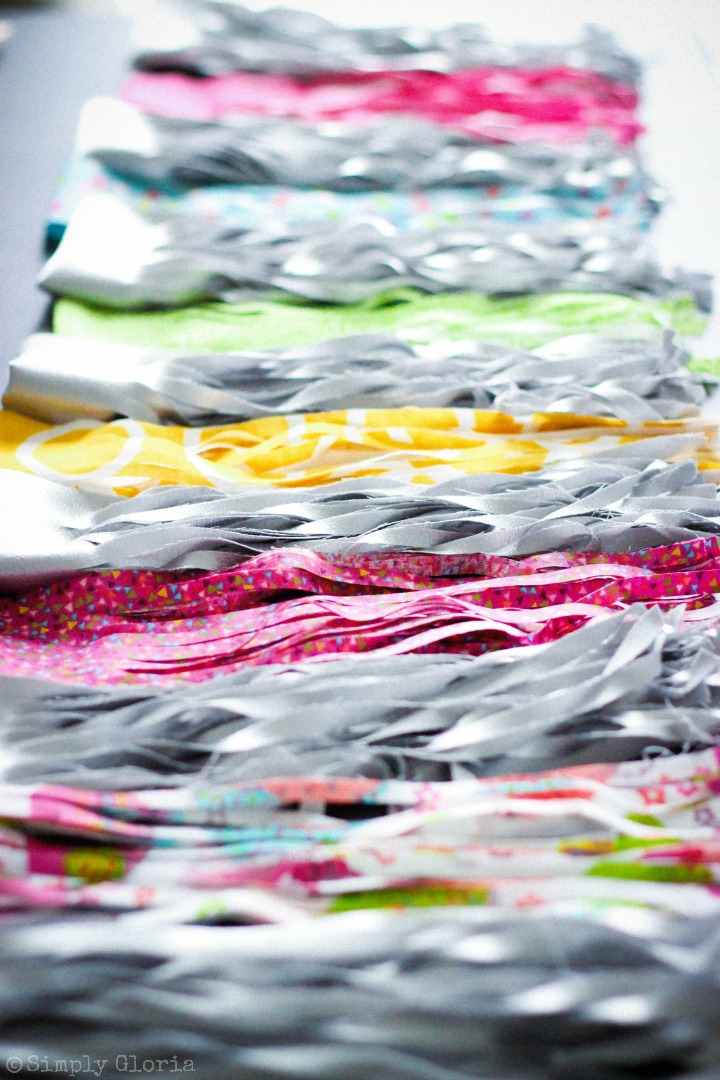
If you’ve decided to use different colors and patterns, lay out how you want them to hang… or keep them in an organized pile.
Attach the fabric tassels onto (and through the loops of) the trim.
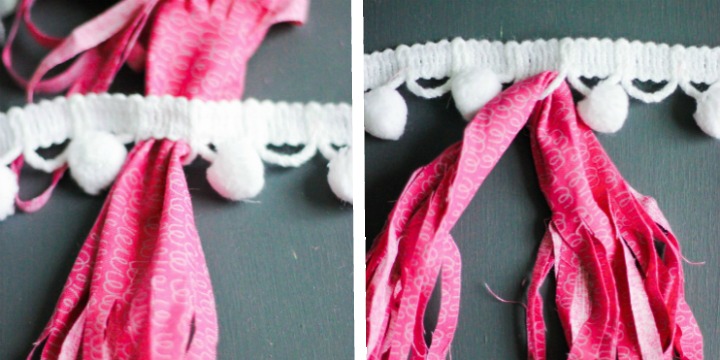
Unfold the tassels and put through the loops OR around the cord/ribbon.
Bring both ends together evenly while twisting the unfolded middle.
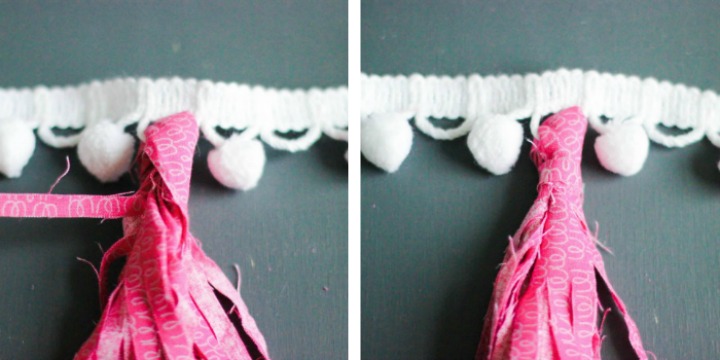
Pull one piece of the cut strip and wrap around (with the design facing out). Close with a dab of hot glue from the glue gun or a piece of fabric tape.
And repeat down the line!
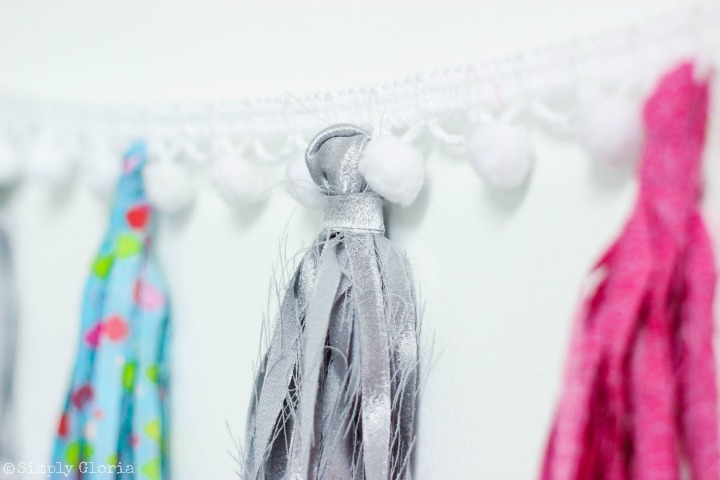 Here’s another way to make a garland or banner…
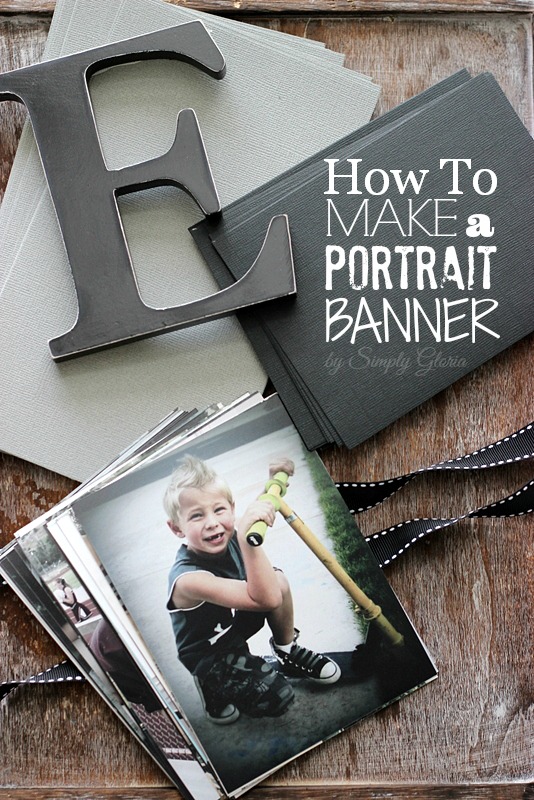
(How to Make a Portrait Banner… perfect for birthdays or graduations!)
Yes, YOU can make this to fit your style and taste. I want to see your creations! So, share with me on Instagram, Facebook or Twitter.

Psss… I’m sharing my No-Sew Fabric Tassel Garland with these link parties… come join me!

Very pretty.
Thank you, Liz!
These are precious! I am throwing a baby shower this weekend and think now, I must make a pink and gold tassel garland! Thanks for the tutorial!
That would be gorgeous with the pink and gold for a baby shower!
awesome!! I love this!
So pretty – thanks so much for sharing with us at #FoodieFriDIY!! Stopped by to do some extra sharing 😀 Come back again next week!
How fun Gloria, I love how you hung them on the pom pom ribbon, it looks so nice! I love these kind of garlands! Thanks for sharing at Sweet Inspiration #4! Happy Weekend!!!
So clever! I love the use of the ball fringe trim for this project. It adds a bit more whimsy to this sweet and fun craft!
I never realized making a garland could be “sew” easy. Thank you, so glad I found this.
I’ve got so much leftover fabric. This would be a great way to use up that stash. Thanks for the tips!
Leslie recently posted…Wonderfully Crazy Outdoor Toy Storage (ORC Week 4)
Gloria, what beautiful garland!! I love the pom pom garland and the lovely, colorful tassels you tied on. My favorite part is the no sew part. ; ) Thanks for sharing at Sweet Inspiration!!
What a great tutorial!! I’m not the best with the sewing machine, so I will definitely be trying this!!!
I’d love it for you to share this at my weekly link party!
http://www.twentysomethinginthe2010s.com/peace-love-linkup-005/
These are beautiful! Such pretty fabrics! Thank you for sharing with us at Snickerdoodle Sunday! Pinned and shared 🙂
How fun is this! Thanks for linking up with us on Throwback Thursday!
Mollie
Frugal Hausfrau recently posted…Chipotle Chicken Stuffed Poblanos with Rajas Sauce
Oh I love that you put it on the pom trim!! Thanks for linking up to Merry Monday! Sharing on FB! Have a great week!
Kim
This is so pretty! Thanks for linking up at Best of the Weekend, you’re one of my features tomorrow night!
Gloria, you always are inspiring me! Can’t wait to make it with you!
This garland is so pretty and colorful! Thanks for sharing at What’d You Do This Weekend?!
This is great! I am awful with a sewing machine, so this one works perfectly for me. I think that this would be a fun decoration for a classroom at the beginning of the school year. Thanks so much for sharing.
This is exactly what I was looking for to add some flair to my newly designed sewing space! Thanks!!
I put a link to your tutorial on my recent post: http://www.somuchtomake.com/2016/07/small-space-sewing-room-makeover.html
The post is so creative. I always love garland, I will decorate them at my house. Thanks!
Jennifer recently posted…Top 5 Best air fryer reviews on the market 2016 -2017
Hello there!
Loved the idea! These are simply innovative and I mus say take zero effort to make! I am in love with the idea of making tassels with day-to-day available materials
thankful for sharing! xoxo
Ushmana Palmo Rai recently posted…Vitamix 6300 Vs 7500 – Which Blender Should You Buy?
That no-sew fabric looks amazing! I really loved them! Thanks for sharing with us!
Sabrina recently posted…Best Turkey Deep Fryers Reviews and Guide for 2017-Complete Buyer’s Guide
It’s so beautiful. You always have great ideas